Pointe Shoe Tutorial: Stitching & Tying Pointe Ribbons
Check out our top tips on stitching and tying the ribbons on a new pointe shoe – perfect for students who are just beginning their pointe journey, or as a refresher if you’re purchasing a new pair of shoes. Scroll down to the bottom of this post for our YouTube video on tying ribbons for some extra help too!
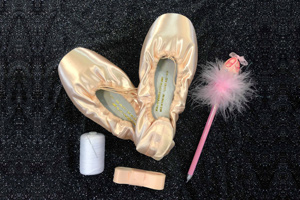
What you will need:
– Your new pointe shoes
– Ribbons (a 2m length should be plenty)
– Elastics (if you’re using them)
– Needle and thread
– A pen
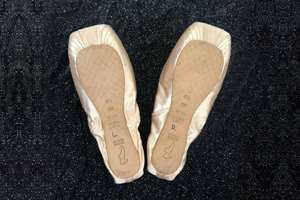
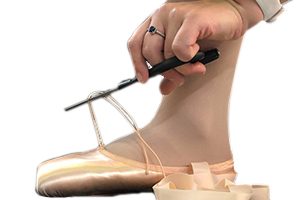
Step 1:
Choose a left and a right pointe shoe, and use your pen to mark them out (on the sole)
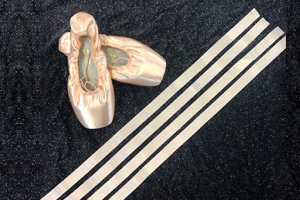
Step 2:
Cut ribbons into 4 lengths. You can do this easily by cutting the full length in half and then half again.

Step 3:
Use needle and thread to stitch your ribbons at the crease, where the pointe shoe naturally folds. Always stitch ribbons on the INSIDE of your shoes, never on the outside.
Step 4:
Put on the shoe, and pull the elastics at front tight. Tie them in a double knot and then cut the excess off. Make sure you tuck the ends in (don’t just tie in a bow and leave visible).
Step 5: Tying your Pointe Shoes
Check out the video above and be sure to subscribe to our channel for more tips and tutorials! Our step-by-step instructions are below:
– Start with your ankle at a 90 degree angle. Don’t go up en pointe when tying your shoes.
– The inside ribbon always goes first, then your outside ribbon.
– Tie the ribbons in a double knot, right between your ankle bone and achilles
– Cut the excess ribbon neatly
– Tuck your ribbons in so they are flat and the knot is not visible
Want more advice and tutorials? Contact us and let us know what you want to see on the blog!
Find out more about Ballet and Pointe classes at WAPS by visiting our Classes page.


 Studio: 3 Price Street, SUBIACO WA 6008


